Gypsum Wall Board Assembly: A Step-by-Step Guide
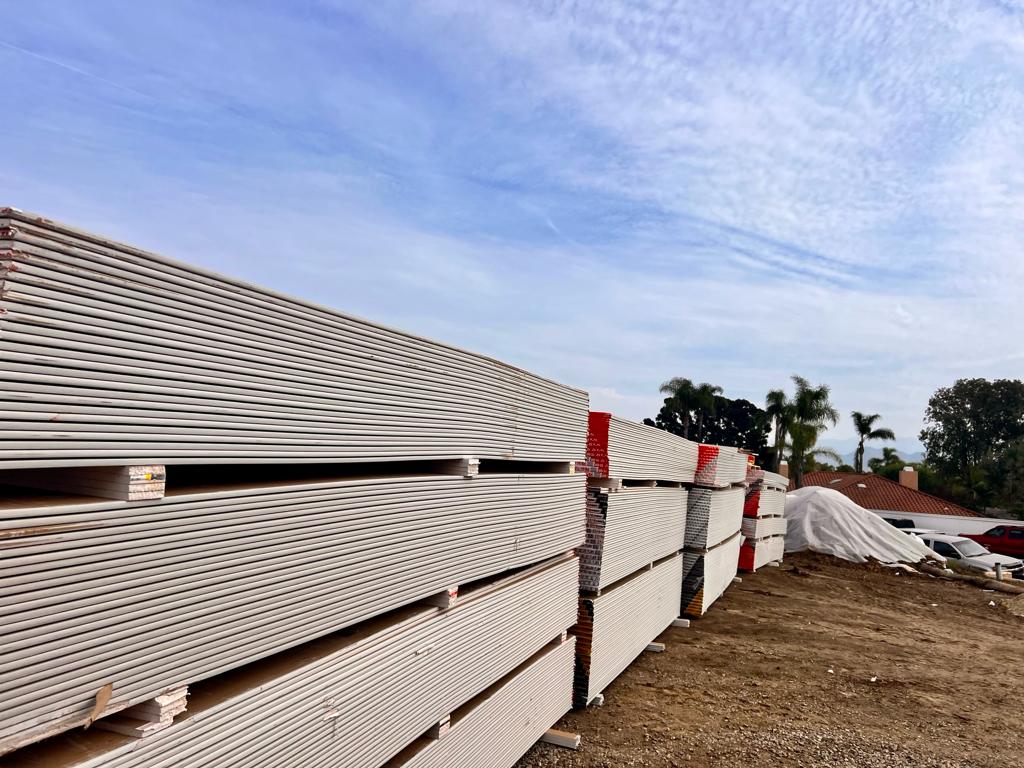
Gypsum wall board, commonly known as drywall, is a widely used material in the construction of interior walls and ceilings. Understanding the assembly process is crucial for contractors, builders, and DIY enthusiasts alike. This guide will provide a comprehensive overview of the steps involved in assembling gypsum wall boards, ensuring a smooth and efficient installation.
What is Gypsum Wall Board?
Gypsum wall board is made of a gypsum core sandwiched between two sheets of heavy paper. It is favored for its fire-resistant properties, ease of installation, and versatility. Commonly used in residential and commercial buildings, it provides a smooth surface for finishing.
Tools and Materials Needed
- Gypsum wall boards
- Drywall screws
- Drywall tape
- Joint compound
- Utility knife
- Drywall lift (optional)
- Screw gun
- Measuring tape
- Square
- Safety goggles
- Dust mask
Step-by-Step Assembly Process
Step 1: Prepare the Workspace
Before you begin, ensure that your workspace is clean and organized. Remove any obstacles and make sure the floor is level. This will help in achieving a precise installation.
Step 2: Measure and Cut the Gypsum Board
Measure the dimensions of the wall or ceiling where you will be installing the drywall. Use a utility knife to score the gypsum board and snap it along the line to create clean cuts.
Step 3: Install the Gypsum Board
Begin by positioning the gypsum board against the wall or ceiling. If using a drywall lift, secure the board in place. Start fastening the board at the center and work towards the edges, using drywall screws approximately 12 inches apart.
Step 4: Tape and Mud the Joints
Once the boards are securely fastened, apply drywall tape over the seams. Follow this by spreading joint compound over the tape with a drywall knife. Allow it to dry before applying a second coat for a smooth finish.
Step 5: Sand and Finish
After the joint compound has dried, sand the surface lightly to remove any imperfections. This will prepare the wall for painting or further finishing.
Common Mistakes to Avoid
- Not using enough screws to secure the drywall
- Skipping the joint taping step
- Using too much joint compound, leading to uneven surfaces
- Failing to sand properly before painting
Benefits of Professional Installation
While DIY installation is possible, hiring professionals can ensure a higher quality finish and save time. They have the experience and tools necessary to handle unexpected issues that may arise during installation.
Conclusion
Assembling gypsum wall boards is a straightforward process if approached methodically. By following this step-by-step guide, whether you’re a contractor or a DIY enthusiast, you can achieve a professional-looking installation. For those who prefer to leave it to the experts, consider reaching out to a specialized drywall company to ensure optimal results.